If you are wondering how to resize photos for different social media platforms at once, the practical answer is to pick one size per platform (for example 1080 x 1350 for Instagram feed posts, 1600 x 900 for X and 1080 x 1920 for TikTok photo posts), then run your whole photo set through a batch tool that outputs every size in one pass. Cropping, padding and your handle or logo should be applied automatically, so you are not editing the same picture three times.
Below you will find the sizes each platform currently expects, how to avoid cutting off faces or key details when changing shape, and a repeatable workflow for promotional teasers.
What are the main social media image sizes right now?
Platforms change their layouts regularly, so treat these as current recommendations to check against each platform's help pages rather than fixed rules:
| Platform and placement | Recommended size | Shape |
|---|---|---|
| Instagram feed (portrait) | 1080 x 1350 px | 4:5 |
| Instagram feed (grid-matched portrait) | 1080 x 1440 px | 3:4 |
| Instagram square post | 1080 x 1080 px | 1:1 |
| Instagram Stories and Reels covers | 1080 x 1920 px | 9:16 |
| X single image (landscape) | 1600 x 900 px | 16:9 |
| X portrait image | 1080 x 1350 px | 4:5 |
| TikTok photo mode | 1080 x 1920 px | 9:16 |
Instagram now shows profile grids in a taller 3:4 shape, which is why many creators have moved from 4:5 to 3:4 for feed posts. On X, a 16:9 landscape image is the safest choice if you want the whole picture visible in the timeline. TikTok photo carousels are built around the full-screen 9:16 format; square and 4:5 images are accepted but may show bars on phones.
How do you change shape without ruining the photo?
Going from a landscape camera shot to a 9:16 vertical frame throws away most of the width. You have two options, and the right one depends on the image.
Crop to 9:16 or 1:1
Cropping fills the frame and looks native on each platform, but a centred crop often cuts off a face, a product or your branding. Always check the crop position per image and move it where needed, especially for group shots and full-length photos.
Make an image square without cropping
Padding keeps the whole photo and fills the empty space instead. A blurred, enlarged copy of the same image behind the original looks more polished than plain bars, while a solid brand colour works well for a consistent grid. Padding is often the better choice for teasers where composition matters.
Tip: keep anything important, such as your face, handle or a caption, away from the edges of 9:16 images. Platform buttons and captions sit over the bottom and right-hand side of vertical posts.
Should you add text and a handle to every teaser?
A small, consistent handle or logo helps people find you when images are reshared, and it discourages casual reposting. Short text such as "New set Friday" can lift engagement, but keep it brief and legible on a phone. Our guide to watermarking content without ruining it covers placement and opacity in more detail.
Before posting, check each platform's current content and promotion rules. What is acceptable on X is often not acceptable on Instagram or TikTok, and teaser images should always be safe for the platform they are posted on. Our guides on promoting your page on Instagram, on X and on TikTok go through the rules for each.
How do I bulk resize images for Instagram, X and TikTok in one run?
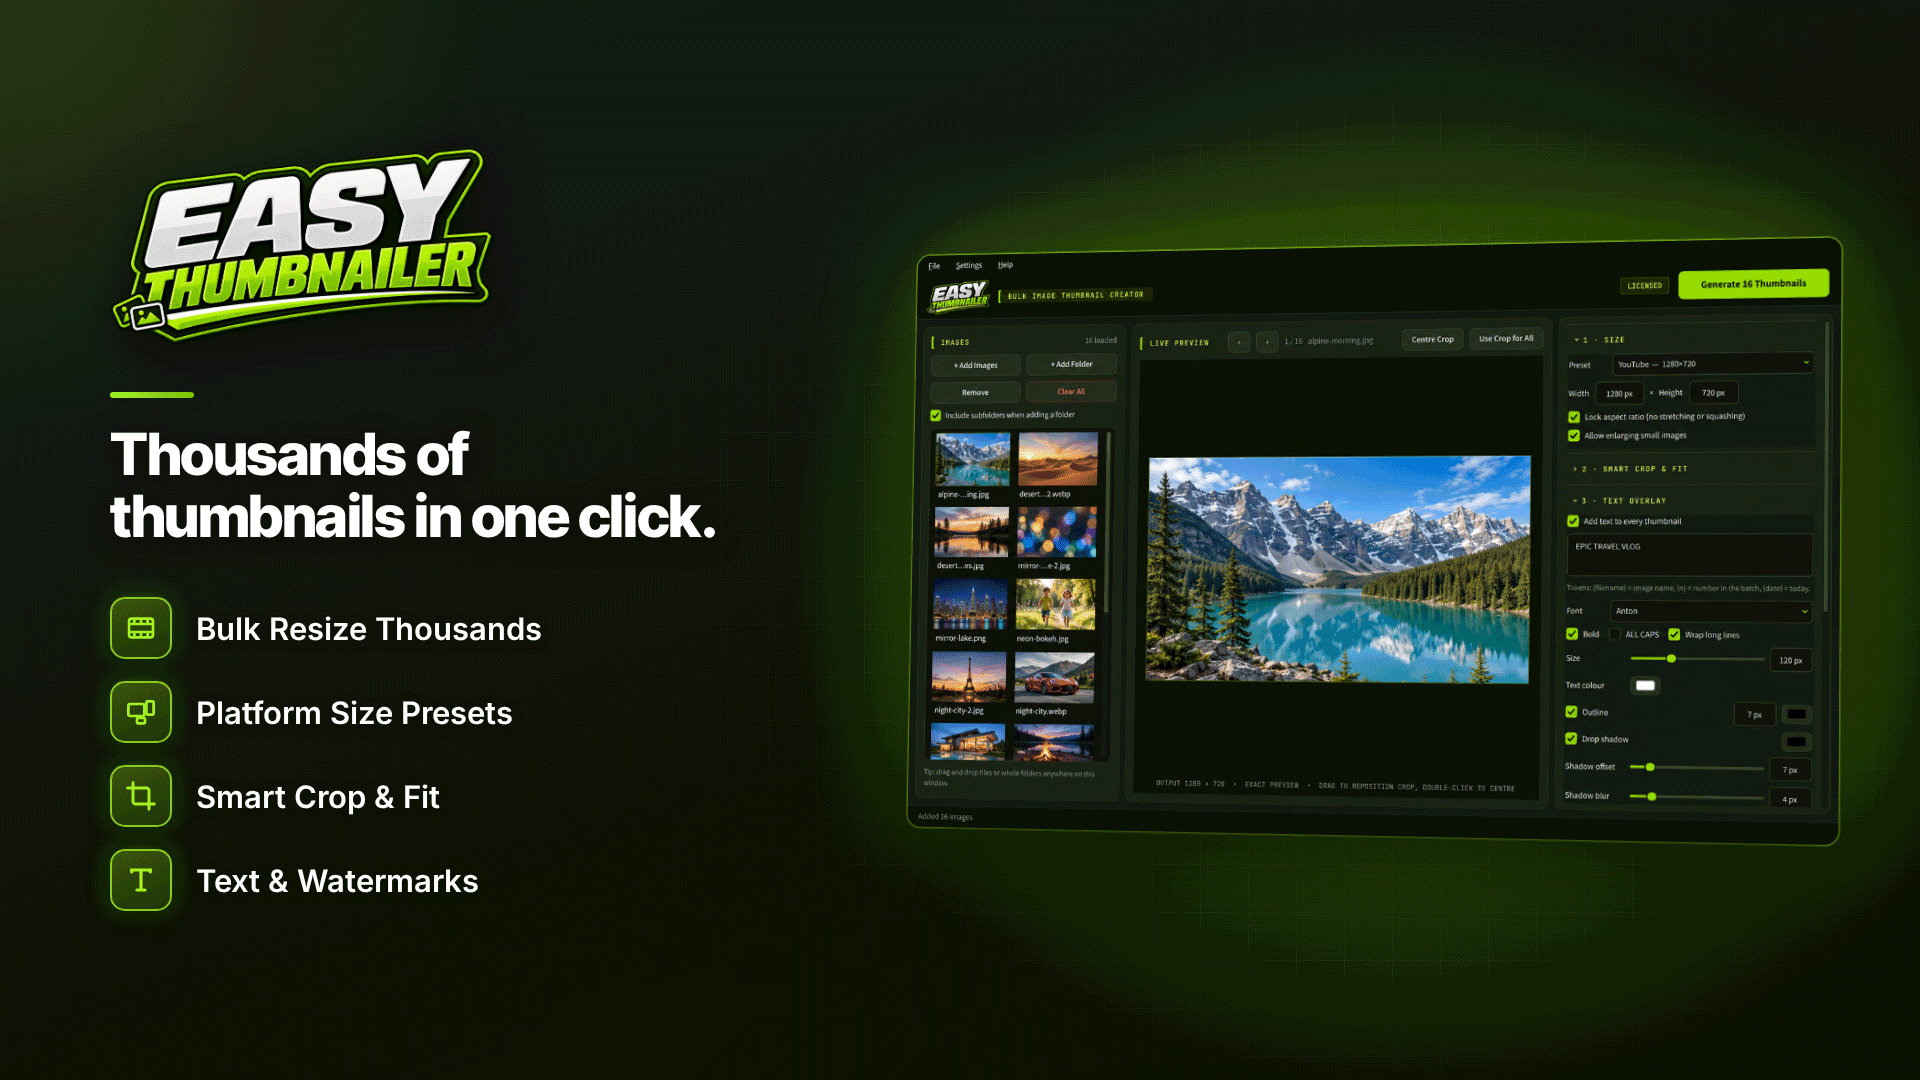
Editing each photo by hand in a phone app works for one or two images, but it becomes a chore with a full set. On a Windows 10 or 11 PC, Easy Thumbnailer lets you do the whole job in one batch. Its 18 platform presets include Instagram, TikTok, X and OnlyFans cover and post sizes, and you can add your own custom width and height if a platform changes its recommendations.
- Add the set. Drag in the folder from the shoot, including any sub-folders. Originals stay untouched.
- Choose the outputs. Select the presets you need, such as an Instagram portrait, an X landscape and a TikTok 9:16 vertical.
- Set cropping. Crops are centred by default; drag to reposition any image where the subject sits off-centre, or use smart focus. Where cropping would lose too much, pad with a solid colour or a blurred copy instead.
- Add text and branding. Text overlays support fonts, outlines, drop shadows, a background band and nine positions, and tokens such as {filename}, {n} and {date} let you number or date a series automatically. Add your logo or handle as a watermark with adjustable size, opacity and margin.
- Preview, then generate. The live preview uses the same code that writes the files, so what you see is what you get. Save as JPG, PNG or WebP.
Location data is a hidden risk with phone photos. Easy Thumbnailer does not copy EXIF or GPS location data into the files it creates, which is a useful safeguard when posting teasers taken at home. It works with still images only, so it will not pull frames from video clips, and you need an activated key before it will generate files.
Common mistakes when resizing for social media
- Uploading one size everywhere. Each platform will crop it differently, often badly.
- Upscaling small images. Start from the largest original you have; enlarging a low-resolution file looks soft.
- Text too small. Check every image on a phone before posting.
- Forgetting your own platform specs. Banners and post images on subscription sites have their own sizes; see OnlyFans banner and post image sizes.
Frequently asked questions
What is the best single size if I only make one version?
A 4:5 portrait at 1080 x 1350 works acceptably on Instagram and X, but it will not fill a TikTok screen. If you post to vertical-video platforms, a separate 9:16 version is worth the extra few seconds a batch tool takes.
Do platforms reduce image quality?
Yes, all major platforms recompress uploads. Uploading at the recommended size, rather than a much larger file, usually gives the platform less to squeeze and a cleaner result.
Can I resize video the same way?
Not with an image resizer. Video needs a video tool; this workflow is for photo sets and still teasers.
Next steps
Pick your three or four core placements, save them as your standard outputs and run every new shoot through the same batch so your feeds stay consistent. If you want presets, smart cropping, padding and text overlays in one Windows tool, try Easy Thumbnailer.