If you are asking "how do I batch resize images for my website?", the short answer is: decide the largest size each image actually displays at, export every image at that width (or twice that for sharp high-density screens) in WebP or a well-compressed JPG, and do it with a batch tool that processes whole folders at once rather than one file at a time. On a typical affiliate or review site, that alone can strip a large share of page weight without anyone noticing a drop in quality.
This guide explains why oversized images hurt speed and rankings, which dimensions and formats suit product grids, blog posts and galleries, and how to build a repeatable batch workflow you can rerun every time a merchant sends a new set of photos.
Why do oversized images slow down affiliate sites?
Most affiliate sites are image-heavy: product shots in comparison tables, hero images on reviews, screenshots in tutorials and thumbnails on category pages. The common mistake is uploading the file straight from a camera, phone or merchant feed. A 4,000-pixel-wide photo shown in a 400-pixel card still has to be downloaded in full before the browser shrinks it, so the visitor pays for pixels they never see.
That matters for SEO because Google's Core Web Vitals include Largest Contentful Paint (LCP), and on many pages the largest element is an image. Google's guidance treats an LCP of 2.5 seconds or less as "good", measured at the 75th percentile of real visits. Heavy images also burn through mobile data, and visitors on phones are rarely patient.
Quick check: open a money page, right-click the main product image and open it in a new tab. If its natural width is several times larger than the space it fills on the page, you have an easy win waiting.
What size should website images and thumbnails be?
There is no single correct size; it depends on your theme's layout. Measure the widest point at which each image type is displayed, then export at roughly that width, or up to double it if you want crisp results on high-density phone and laptop screens. As a starting point:
| Image type | Typical display width | Sensible export width |
|---|---|---|
| Grid or comparison-table thumbnail | 200–400 px | 400–800 px |
| In-article image (blog or review body) | 700–900 px | 1,200–1,600 px |
| Full-width hero image | 1,200–1,600 px | 1,600–2,000 px |
| Gallery preview tile | 250–350 px | 500–700 px |
These figures are illustrative, not rules. Your own theme and the way your CMS generates responsive image sizes should guide the final numbers. Keep a consistent aspect ratio for each grid, too: mixing square, portrait and landscape thumbnails in the same table makes rows jump about and can contribute to layout shift.
Should you bulk convert images to WebP or keep JPG?
WebP usually produces noticeably smaller files than JPG at similar visual quality, supports transparency like PNG, and is supported by all current major browsers. For most affiliate sites it is the sensible default for photos and product shots. JPG remains a safe fallback for email newsletters, older systems or partners who ask for it, and PNG is still useful for logos, icons and screenshots with sharp text.
- Photos and product shots: WebP at a quality setting around 75–85 is a good place to start testing.
- Screenshots and diagrams: PNG or a high-quality WebP so text stays sharp.
- Images with transparent backgrounds: PNG or WebP, never JPG.
To resize images without losing quality that anyone would notice, always work from the original, high-resolution file rather than resizing an already compressed copy, and compare a few outputs side by side at 100% zoom before committing the whole library.
How do I batch resize images for my website step by step?
Whatever tool you use, a reliable batch workflow looks the same:
- Collect originals in one place. Keep a master folder of untouched images, organised by site section or merchant, and never overwrite it.
- Define output sizes per use. For example, one size for grid thumbnails and another for in-article images.
- Choose format and quality. WebP for most photos, with a quality setting you have tested.
- Keep the folder structure. Mirroring the source folders in the output makes uploading and matching files to pages far easier.
- Name files sensibly. Add a suffix such as "-thumb" so different sizes never clash.
- Check the problem list. Corrupt or unusual files should be flagged, not silently skipped.
- Upload and test. Rerun a speed test on a few key pages and compare.
Batch resizing a whole image library in one run
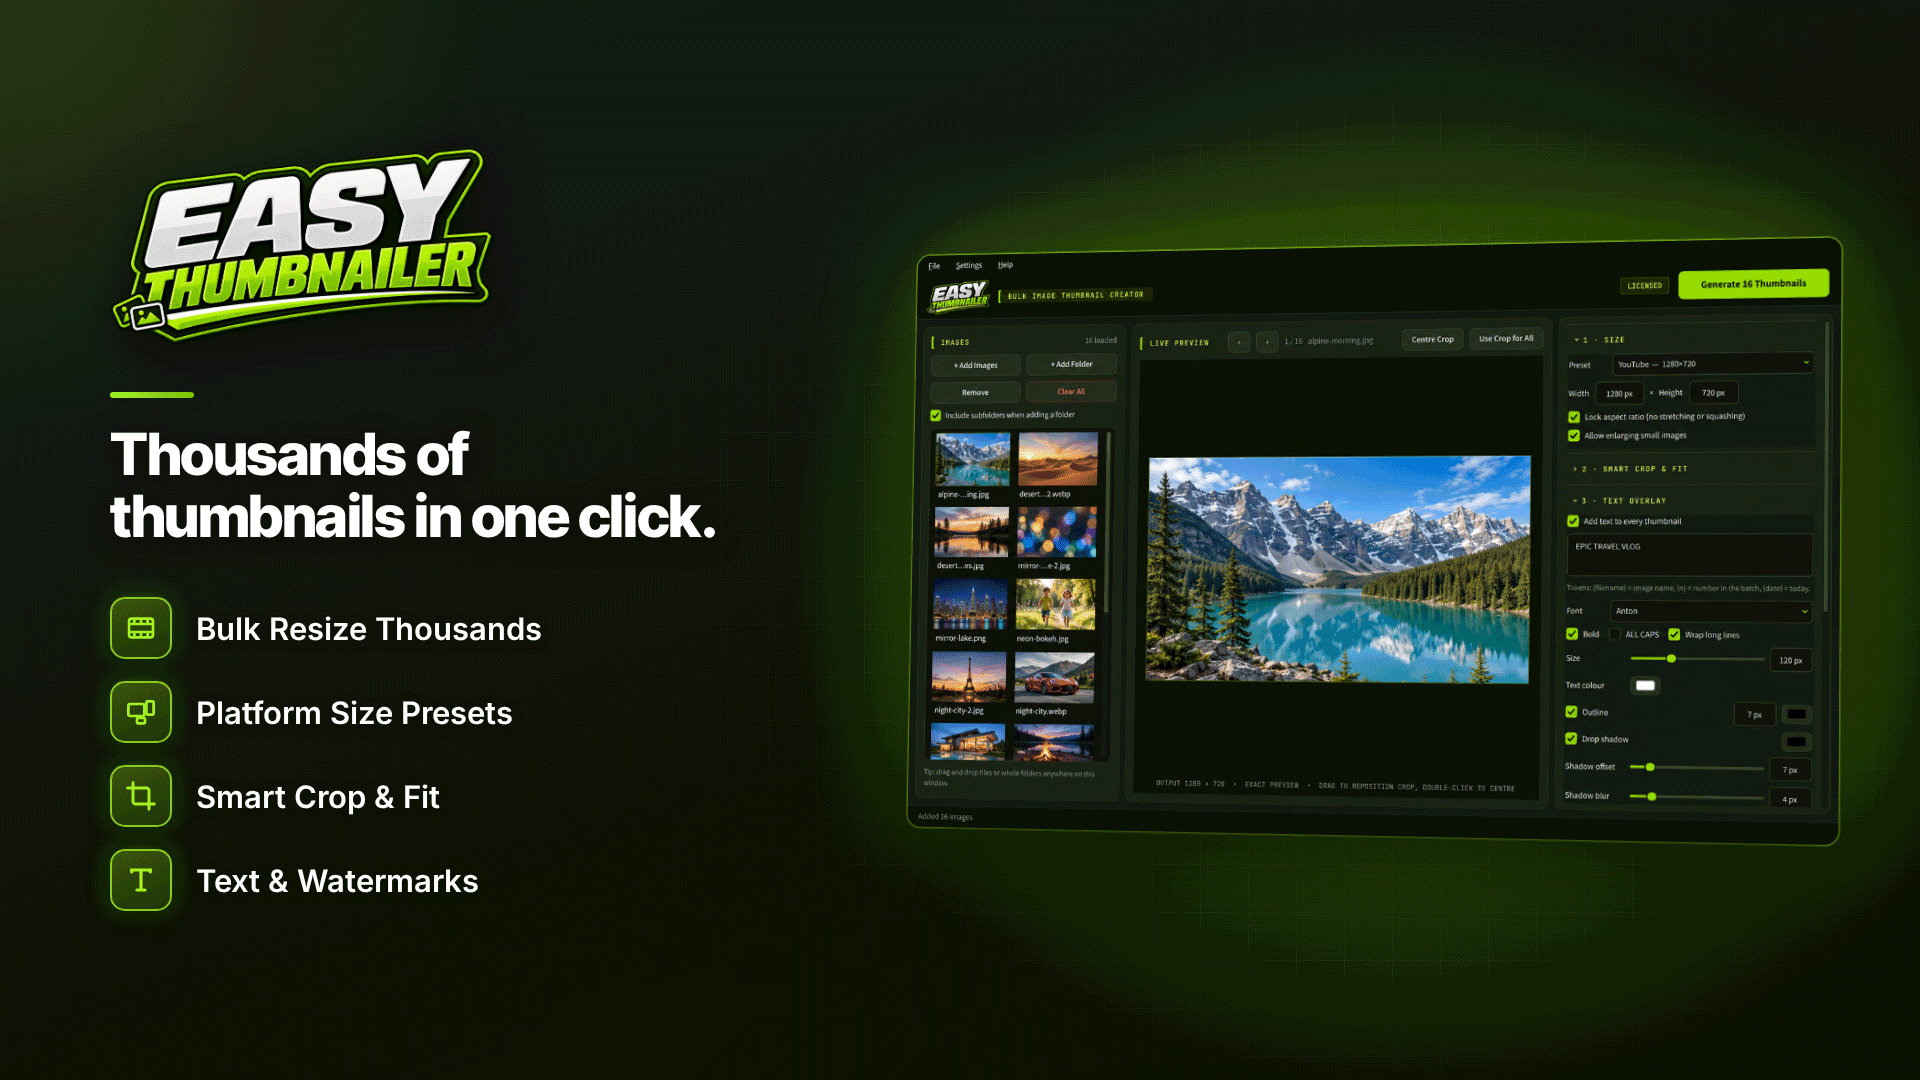
A desktop batch tool is usually the quickest way to apply that workflow to hundreds or thousands of files, because nothing has to be uploaded and you can reuse the same settings every time. On Windows 10 and 11 (64-bit), Easy Thumbnailer is built for exactly this job: you add single images or whole folders, including sub-folders, by drag and drop or from the menus, and it writes resized copies while leaving your originals unchanged.
The settings map neatly onto the steps above:
- Custom sizes: set any width and height from 16 to 10,000 pixels with the aspect ratio locked, or crop to a fixed shape such as 1:1 or 4:3 for uniform grids, with padding as an alternative to cropping.
- Format and quality: save as WebP, JPG or PNG, with a quality slider from 1 to 100.
- Folder structure: send output to a chosen folder or to a "Thumbnails" folder beside each image, optionally keeping the sub-folder structure, with a prefix or suffix added to every file name.
- Clashes: if a file already exists you can keep both, overwrite or skip.
- Speed: processing is multi-threaded (1 to 16 threads), with a live counter of the thumbnails about to be created.
- Checks: a live preview uses the same code that writes the files, and an end-of-run list shows any problem files.
It reads a wide range of inputs, including JPG, PNG, GIF, TIFF, WebP, HEIC, AVIF and PSD, which helps when merchant packs arrive in mixed formats. One privacy bonus of Easy Thumbnailer: EXIF and GPS location data are not copied into the output, so you are not publishing camera details or the place a photo was taken. Bear in mind it handles still images only, so animated GIFs and multi-page TIFFs use just the first frame or page, and generating files requires an activated key.
Common image optimisation mistakes to avoid
- Overwriting originals. Once a master is compressed, you cannot get the detail back for a future redesign.
- Over-compressing. Quality settings that are too low create blotchy product photos that undermine trust on review pages.
- Ignoring CMS duplicates. Many CMSs generate their own size variants on upload; check you are not storing a dozen versions of every file.
- Forgetting file names and alt text. Resizing is a good moment to bulk rename image files for SEO and review alt text.
- Not retesting. Measure before and after; if LCP does not improve, the bottleneck may be hosting, scripts or fonts instead.
Images are only one part of page speed. Work through our technical SEO checklist for adult sites and the wider affiliate site audit checklist to find the other quick wins, and if server response time is the real problem, compare options in our adult web hosting directory.
Frequently asked questions
Does resizing images improve SEO directly?
Not by itself, but lighter images help pages load faster, which supports Core Web Vitals and a better experience for visitors. Combined with descriptive file names and alt text, well-optimised images also have a better chance in image search.
Will converting to WebP break older browsers?
All current major browsers support WebP. If you need to serve a very old audience or an email client, keep a JPG copy as a fallback; your CMS or a picture element can handle the switch.
How often should I rerun a batch?
Whenever you add a new batch of product shots or change your theme's layout. Keeping your settings consistent means new images match the old ones in every grid.
Next steps
Start with your highest-earning pages: measure them, resize their images in one batch, upload and measure again. Then fold image sizing into your publishing routine using the guidance in our SEO guide for affiliate websites. If you want a Windows tool that handles whole folders, WebP output and sub-folder structure in one pass, take a look at Easy Thumbnailer.